|
|
- ('Calgary'
document): Insert page numbering at top of each page in the
'header' (0.2 GPA):
- Format "Page x of y" (in Word the
numbering is referred to as "Bold Numbers 3")
- You can keep the default font
(Calibri) and size (11).
- The text should already be right
aligned (this is how Bold Numbers 3 is already formatted so you
shouldn't have to change anything).
|
|
- ('Calgary'
document): Insert a table of contents on its own page at the very
start of the document. (0.4 GPA)
- Use Word's
ability to automatically insert a
table of contents at the very start of the document. (In Word
the table to use is called: "Automatic Table 2"). (0.2 GPA)
- Insert a 'page
break'1 after the table of contents ("Spruce
Meadows" should be now only Page 2): (0.2 GPA)
|
|
- ('Calgary'
document): Insert a Word generated footnote (0.2
GPA):
- The footnote contains the web address
of the Spruce Meadows website (www.sprucemeadows.com) and
should appear
at the bottom of the page. You don't have to change the font
style and size that is used for the footnote.
|
- ('Calgary'
document): Insert a Word
generated citation. (0.5 GPA)
- One way to create the citation in
Word: References->Insert
citation->Add a new source "Film".
- Citation information
- Title: Cool Runnings (0.1 GPA)
- Director: Turteltaub, Jon (0.1 GPA)
- Year: 1993 (0.1 GPA)
- If the citation that you just created isn't inserted in the
correct location then you can manually insert it: References->Insert
citation: then select the newly created "Cool Runnings"
reference. (0.2 GPA)
|
- ('Calgary'
document): Using
the citation from #4
(you must complete that feature to get credit for this one), create
a bibliography at the very end of the document on its own page. (0.4 GPA)
- The bibliography (0.2
GPA) is at the
very end
of the document so again use the insert page
break1 feature to make sure that the bibliography
sits on its own page. (0.2 GPA)
|
- ('Calgary'
document): Change the
style of the
text from #4 (you must complete that feature to get credit for this
one) above (0.5
GPA)
-
Create a new 'style' of text in Word called "Movie
taglines"
-
Movie taglines is based on the existing style 'Normal'. (0.1
GPA)
-
The new style be formatted as follows. Font type: 'Arial
Black',
Font size 14 (0.2
GPA: 0.1 for
font type, 0.1 for
font size).
-
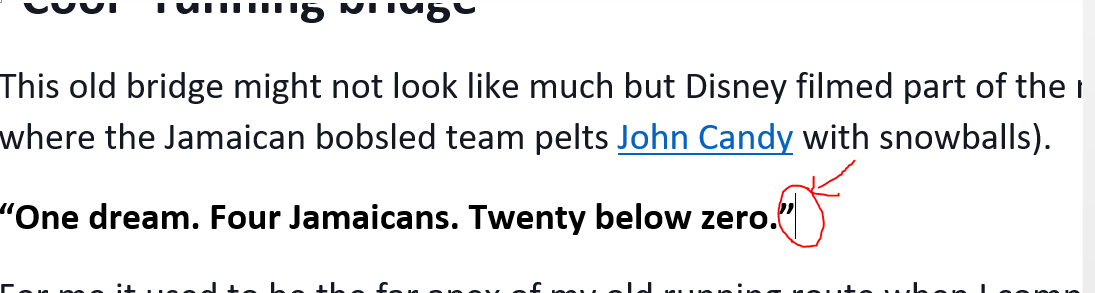
Apply this style to the citation and the text "One
dream. Four Jamaicans. Twenty below zero. (Turteltaub,
1993)"
(0.2
GPA)
|
- ('Calgary'
document): Use
the 'insert captioning' of Word to label all the images in the
document. You can use the default text for the caption "Figure
X"
(X = the figure number). (2 images
x 0.1 GPA each = 0.2
GPA)
|
- ('Calgary'
document): Insert
a new image into the middle of the document and make sure existing
captions are updated/correct. (0.3
GPA)
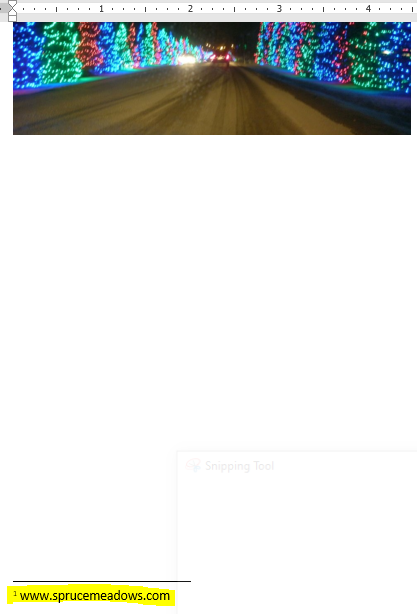
-
Insert an image of your choice between the 1st and 2nd image
("Spruce Meadows" and "Cool Runnings") on its own page use the
insert "Page break" feature1 (0.1
GPA).
-
Use the image captioning feature of Word to caption the new
image, again you can just use the default text for the caption. (0.1
GPA)
- Make
sure that all your other image captions and any applicable
references to the images are correctly updated. With Word 2016+
the update should
be automatic
and correct but check it! (0.1
GPA)
- You don't need
to create a new heading for the image but make sure that the
image is not specified
as a 'heading' text style. If the style of the image is
accidentally set as one of the heading style types (e.g.
"Heading 1") when you update the table of contents (next step)
the image
will show up in the table of contents!
|
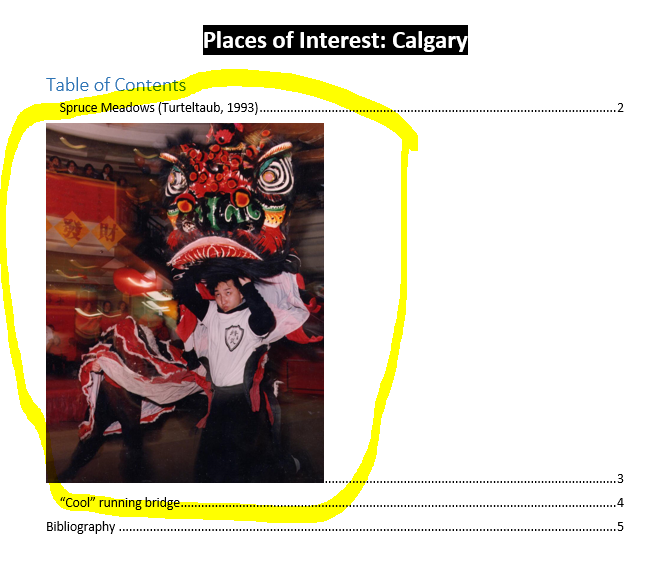
- ('Calgary'
document): Update the table of contents so the page numbers and the
headings (there should be three of them: two for the original
images, one for the bibliography) are correct. (0.2
GPA)
|
Part II: Using Mail Merge on the starting Word document Marketing_Letter.docx and
using as the recipient list the people listed in this spreadsheet
[Clients.xlsx]. Based on this recipient list you create a mail merged
letter. You will get few (if any) marks if the client data is manually
typed into Word and does not utilize the Word Mail merge function.
|
- ('Marketing_Letter'
document): Use the mail merge feature in Word (Mailings->Start
mail merge->Step-by-step Mail Merge Wizard)
to generate customized 'letters' to the clients in
[Clients.xlsx]. Go through the first 5 steps of the wizard.
(Normally there's 6 steps in real life but don't
complete the last step for the assignment). To keep things
consistent and easier for the marker don't sort the data source just
keep the letters in the same order that they appear in the
spreadsheet. Save your document as 'Merged_letter.docx'.
If you have completed the mail merge correctly then your 'Merged_letter'
document will contain all of customized letters. When you select
'Mailings' in the Word ribbon then you will be able to "click
through" all of the letters. When you submit this document via
D2L then your marker can check your results as well. Because your
marker can see all the merged letters you don't need to select the
option to 'Finish
and Merge' the process. (Submitted
only the finished document (created via 'Finish
and Merge') will only show the end
results of the merge process which may be needed in "real life" but
in the case of the assignment will not merit any credit
because the finished document could have been manually typed in
without using a mail merge).
Here are the required parts in order of
appearance in the merged letter.
- Recipient information (first & last
name, job and address which is customized according to the
individual client information in the spreadsheet. The recipient
information should be inserted neatly below the sender's name
and address (for James Tam) and before the text "When we met..."
(0.4 GPA, 0.1 GPA
for each of the four fields).
Format (italicized text is customized based on the client
information from the spreadsheet):
<First name> <Last name>2
<Job>
<Address>
Example (first client):
Bud Fox
Account executive
777 Wall Street
2 There
is a space between the first and the last name.
- Greeting line (e.g. "Dear Mr. Fox,")
in the format: Dear <Title> <Last name>, (0.2
GPA): The
greeting is located after the recipient information (Feature
10a) but is before the body of the email ("When
we met I was amused by what you said: "). You
can (but are not required to) use the the default greeting
("Dear Sir or Madam") when there is missing information in the
title or last name field. There is a space between each of the
fields ('dear', 'title' and 'last name') and all this is
followed by a comma. However, all this should be automatically
be taken care of if you used the 'greeting' feature correctly.
- The 'quote' field for the
client ". In the case of Bud Fox it's: "As your broker, I advise
you to take it." Logically this text will immediately follow
the text of the body (When
we met I was amused by what you said: )
because the existing text refers to quote you add in Feature
(c). (0.2 GPA)
When you complete the insertion of the
above information make sure that each individual letter does not
exceed a page (i.e. you may need to delete some lines if it does).
|
- ('Marketing_Letter'
document): Conditional phrase, offer of membership. In Word use the
feature under Mailings->Rules->If-Then-Else to
add an offer of membership to the client that is based on the
person's gross income. If the income is at or exceeds $50,000
the message will say "I
am able to offer you a Gold membership in our exclusive club."
Otherwise the message will say "I can offer you a membership in our
club." The conditional phrase should follow the quote field (c) in
the body of the email but appear before the 'Sincerely' signoff. (0.3
GPA, 0.2 for the correctly
specified condition, 0.05 for each of the two text messages
appearing under the correct condition)
|