Note: This is only a beginners tutorial for getting up and
running with this program. You are of course encouraged to learn
additional features such as creating custom profiles or using the file transfer
features of SSH (for printing your programs from home).
- Run SSH from the start menu (or with non-Windows based programs start
it as you would start any other program for that operating system).
|
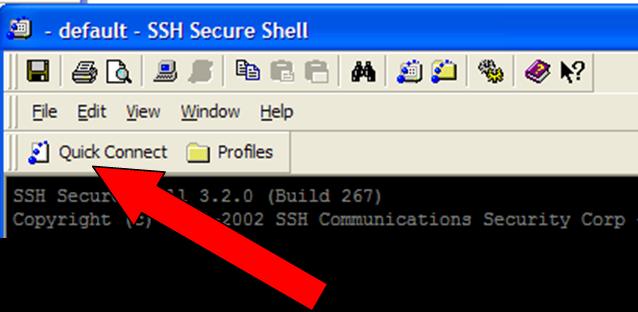
- Select the 'Quick connect' option.
|
| |
 |
- A dialog box will come up. You only need to enter values for the
first two input fields (don't change the information listed in the other
fields).
|
| |
- What machines to use ("Host name"): refers to the name of the Computer Science server that you
want to establish a connection to. Here is a
current list of
the servers that are available. Make sure that you pick a Linux
based machine that you are allowed to access. Don't try to
login to one that is restricted to Profs or graduate students because you
won't be allowed to make a connection and pick a Solaris based machine in
case there are any compatibility issues between programs written on
Solaris vs. programs written on Linux.
|
| |
- User Name: refers to the name that you were assigned for your Computer
Science account (which is separate from the general computer accounts that
are given to all university students). Your user name will be listed
on the piece of paper that you picked up from
MS151 that contained your account information.
|
| |
- Don't change any of the other fields!
|
| |
 |
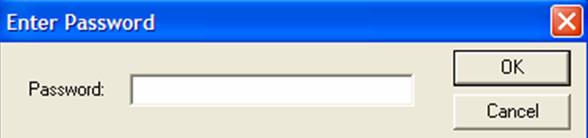
- Next a password dialog will come up. You need to enter
your password for your Computer Science account (which may not necessarily
be the same as your password for your general university account).
|
| |
 |
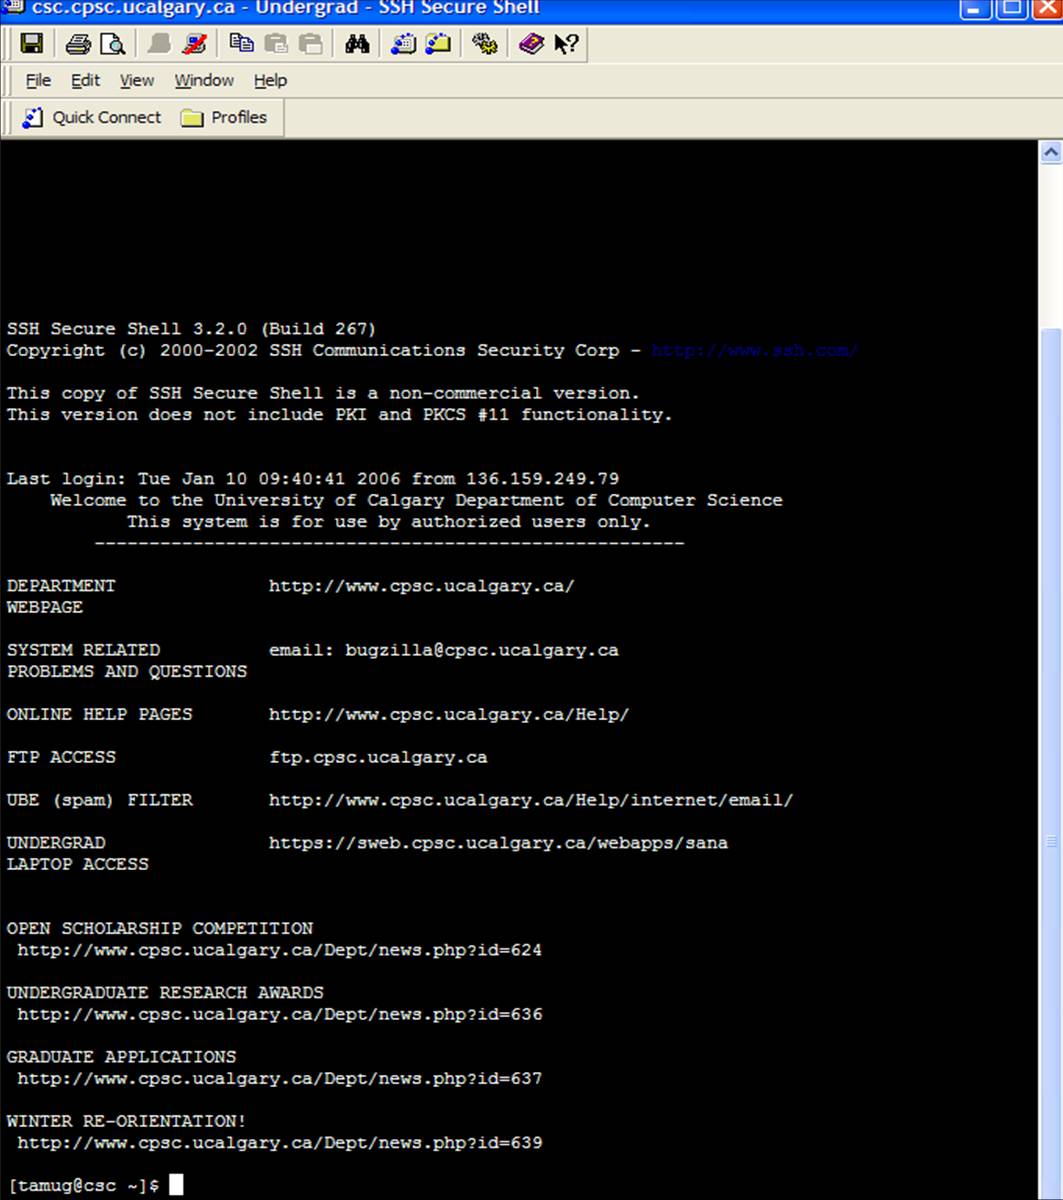
- Assuming that you correctly entered the information for the previous
steps you should see the current message of the day come up (which of
course won't look identical to the message of the day when you actually
login because it changes every so often) and a UNIX prompt which should be
the same one that you get when you use the machines here.
Congratulations you have now successfully logged onto your Computer
Science account from another machine. It is a text-only connection
meaning that you can't use graphical programs like XEmacs or the menu
options in Emacs but otherwise you will be able to complete your
assignments as if you were working on a machine in one of the Computer
Science labs. Files that you save with Emacs will be saved to your
Computer Science account so there is no need to worry about transferring
things back and forth. Again you are encouraged to try out some of
the other features of this program (which you can read about at the
following link:
http://www.ucalgary.ca/it/windows_ssh_sftp) but this short tutorial should be enough to get you
started. Just keep in mind that the information they provide is for
connecting a UC-IT computer account not a Computer Science account so keep
this in mind as you look at the link.
|
| |
 |